
 How good are you at using graphic design software? If you are anything like me, it’s a struggle that always ends in failure. Most bloggers want design tools that are easy and free. We want to have quality graphics that look professional, but at no cost – free – and of course, the process has to be easy to do, as well.
Good news friends! I’ve been exploring further into the design options of the humble Microsoft Word, and found even more ways to spruce up any tired looking blog and bring it springing back to life in a jiffy.
My previous article showed you some ways to use Microsoft Word to make banners and logos that could also be used as Subscribe links and Optin squeeze pages. Since then I’ve found some new, and even easier ways, to make some really cool drop-dead-gorgeous blobs and boxes (technical terms) and turn them into classy looking banners, logos, and subscribe links. And free! Yes, we all like the free stuff.
I’m using Word for Mac, but the Word for PCs is virtually the same. Let’s get into it.
1. Open Microsoft Word
2. Open Word Formatting:
Click on the downward pointing arrow (No1) on the far right to reveal Word’s design tools.
 Now we can have some fun with some shapes:
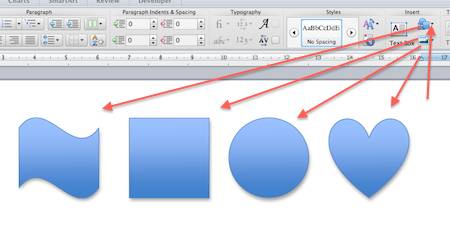
3. Insert Shapes:
Click on Insert Shapes (No2) which is next to the Text Box option we used in the previous article about designing classy Banners using Word.
Here you can choose from a vast array of possible shapes.
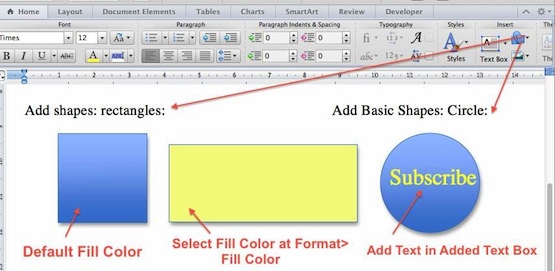
To get your selected shape to show up on your Word Page, select the Shape with your mouse at Insert Shapes, then click your mouse again in a blank area of your Word Page. Excellent! These are just a few examples:
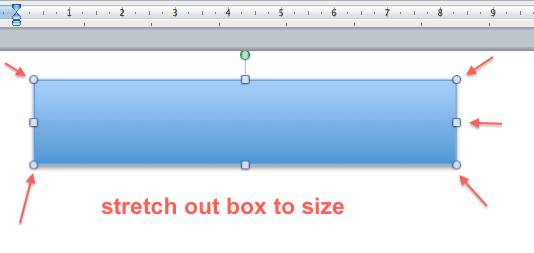
4. Change Size of Shapes:
We can stretch out these shapes to any dimensions using the moving dots you can see if you click inside any of the shapes.
 And we can change the appearance of our shapes in several ways.
First, lets change the Fill Color.
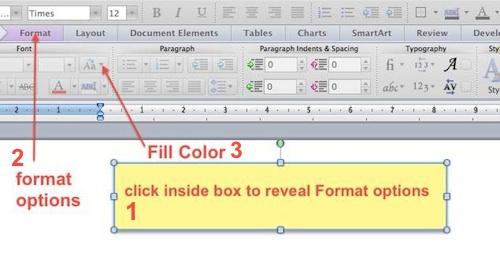 Click inside your shape (No1) and that reveals the extra Format options (No2).
5. Select Fill Color:
Then click Select Fill Color (No3 above) and see what you magic you can create!
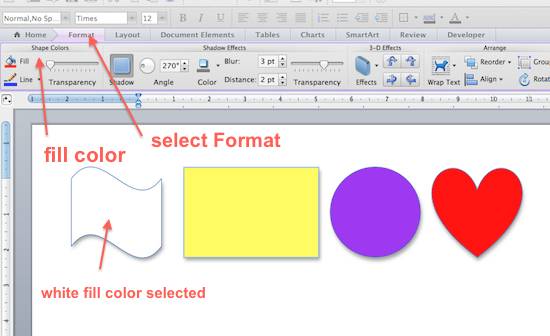 Here on the left, you can see that you can easily create a simple outlined shape with a border and a white interior. You could use that to frame any text (in any shape) that you want to enclose and separate from the main text of an article.
Or as the outline frame for a Banner, Optin graphic or Submit form or logo.
Or, of course ,you can be more adventurous and choose an almost infinite range of colors to fill your shapes. You could even get adventurous and make a collage of shapes. Be creative!
Now we can get a little bit fancy by Adding text inside your shape:
6. To Add Text into Shapes:
click on Insert Text Box, which is next to the left from Insert Shapes in the Word options. Just like we did when Designing Classy Banners using Text Boxes.
Use your mouse held down, to draw out and drag a text box over/inside your Shape.
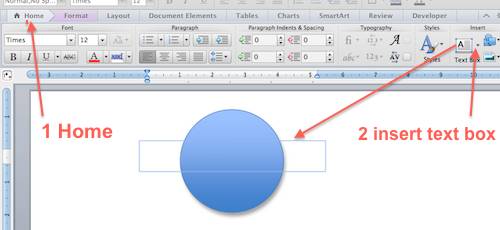 Make sure you have Home selected (No1).
That will reveal the Insert Text Box option (No2).
Now double click inside your text box and type your text.
7. Format Your Text
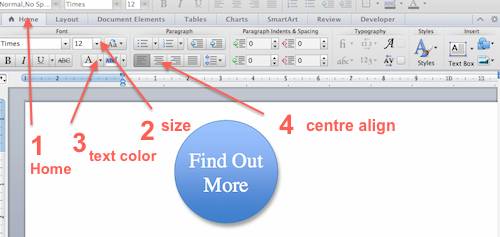
You have to jiggle around (more technical terms) your text box inside your shape to fit.
The text box and the shape have their own, and different, move-dots – you know what I mean – so move them both around until you get the text and the shape lined up together and in the right places.
Now for some Special Effects!
8. Adding Shadow Effects.
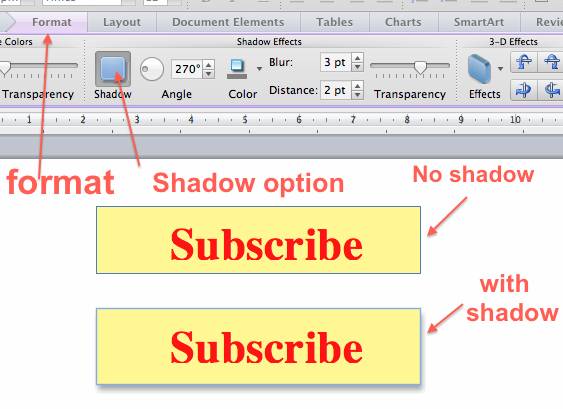
Cool eh?
And here’s one I prepared earlier…because I like it… and because I can:
 You can do it too!
There are other options available in Word, such as 3D effects, blurring, changing the transparency of colors and more. Go exploring and surprise yourself with what you can create.
To see how to transfer your Word document Shapes into a .jpg or ,png format for uploading into a web Post, see Design Classy Banners & Logos Using Mac Word.
Have fun, folks, and don’t forget you have to pick the kids up from school….yes, playing with shapes and designing Banners and Logos can be quite distracting, and the time just flies by…
One last thing:
Did you actually click on any of the wonderful opportunities I gave you to sign up to our Free Newsletter? Did you find them? Well did you? I think you should, when you have so many different (and enticing) options to choose from. 
Pingback: Build Traffic & Have Fun Making FREE Banners Using Mac Word